
Red velvet cake waffles recipe brings weekend brunch joy to your table with bright cocoa flavor and crispy edges.
Weekend mornings call for something bright, and a red velvet cake waffles recipe turns a boring breakfast into a fun party on your plate. You get the rich cocoa taste of your favorite bakery cake, combined with the golden crunch of a hot waffle iron.
Cocoa powder gives you that deep chocolate background, while a splash of vinegar reacts with baking soda to create an ultra light inside. You will walk away knowing the exact mixing trick for getting crispy edges and fluffy centers every single time.
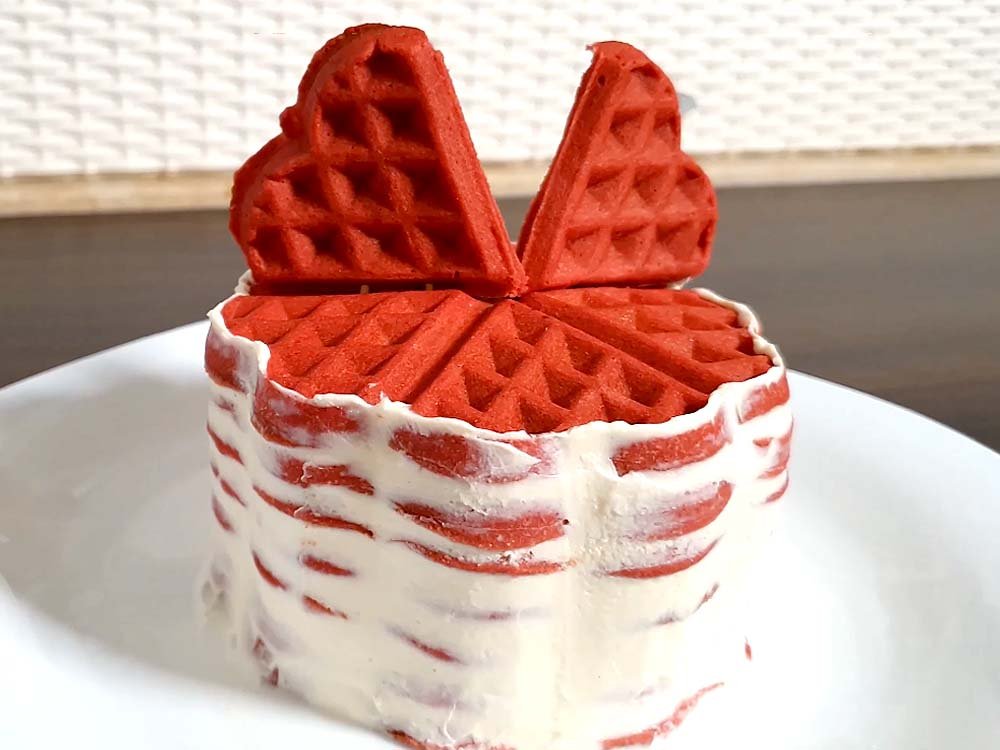
Why You Will Love This Recipe
- Deep Cocoa Flavor: Real cocoa powder gives you that classic bakery taste, without needing a full box of cake mix. Every bite brings rich chocolate notes, balanced by a touch of tang from buttermilk.
- Crispy Exterior: Hot iron grids give your batter a golden crust, while keeping the inside soft and steamy. You get that bakery crunch at home, without wasting money on weekend restaurant lines.
- Fun Color: Bright red batter makes your breakfast table look festive, without any artificial fuss. Kids and adults smile the second you set a steaming stack down on the kitchen counter.
- Ready in Minutes: Hot waffle irons cook batter fast, saving you from standing over a hot stove flipping pancakes. You can feed a hungry family in ten minutes flat, once your waffle iron gets hot.
- Freezer Friendly Extras: Double up your batches on Saturday morning, and stash the extra waffles in your freezer for busy school days. Pop them straight into your toaster, and breakfast is ready before your coffee finishes brewing.
Ingredients
- All Purpose Flour (2 cups): Gives your waffles structure and strength, holding all the liquid ingredients together without turning heavy. Measure your flour with a spoon, not the scoop method, to keep your batter light.
- Unsweetened Cocoa Powder (3 tablespoons): Delivers that authentic red velvet taste, bringing deep chocolate notes to every single bite. Pick a good quality powder, since the chocolate flavor depends entirely on this choice.
- Granulated Sugar (1/4 cup): Adds just enough sweetness to balance the bitter cocoa powder, without turning breakfast into dessert. Too much sugar burns fast on hot iron plates, so keep this amount exact.
- Baking Powder (1 tablespoon): Acts as your main leavening agent, pushing the batter up and out to create an airy crumb. Check your expiration date before mixing, because old powder leaves your waffles flat and dense.
- Baking Soda (1/2 teaspoon): Reacts with the acidic buttermilk, creating tiny gas bubbles that make your center super soft. Do not skip this ingredient, or you lose that traditional red velvet texture.
- Buttermilk (1 1/2 cups): Provides the acid needed for that chemical rise, while adding moisture and a slight tang. Cold milk from the fridge works fine, but room temperature buttermilk blends much smoother into your dry bowl.
- Large Eggs (2): Binds your batter together and adds richness, helping the edges crisp up against the hot iron. Whisk your eggs slightly before pouring them in, so they mix evenly with the wet ingredients.
- Unsalted Butter (1/3 cup, melted): Adds fat for a tender middle and helps the outside turn deep golden brown. Let your butter cool down slightly before adding it, so you do not accidentally cook your eggs.
- Red Food Coloring (1 tablespoon): Creates that striking crimson color everyone expects from a true red velvet treat. Gel coloring works best here, giving you bold results with fewer drops of liquid.
- Vanilla Extract (1 teaspoon): Rounds out the chocolate flavor, adding warmth and depth to the overall batter. Pure vanilla extract tastes much better than imitation versions, making a noticeable difference in your breakfast.
✅ Also Read: Pecan Pie Oatmeal Cookies Recipe for Fall Baking
Steps to Make Red Velvet Cake Waffles Recipe (Quick and Easy Guide)
Whisking Dry Mix
Flour and cocoa powder go into a large glass bowl, alongside sugar, baking powder, and baking soda. A wire whisk blends everything together, breaking up any lumps hiding in the cocoa powder. Your dry mixture turns a uniform brown color, smelling faintly of sweet chocolate.
Combining Wet Liquids
Buttermilk gets poured into a separate pitcher, followed by melted butter, eggs, vanilla extract, and red food coloring. You whisk those wet ingredients vigorously, watching the liquid turn a vibrant, striking crimson. Smooth consistency matters here, so keep stirring until no egg streaks remain visible.
Pouring the Batter
Wet ingredients join the dry bowl all at once, and a rubber spatula folds them gently together. Stop stirring the moment you see no dry flour pockets, leaving the batter slightly lumpy. Overmixed batter turns tough, so resist the urge to make it completely smooth.
Baking Until Crispy
Hot waffle iron grids get a light spray of oil, preventing your red batter from sticking. You ladle the crimson mixture into the center, closing the lid tightly to press the batter out. Steam hisses from the sides of the iron, and you wait patiently until the bubbling stops completely.
What to Serve with Red Velvet Cake Waffles Recipe
Maple Syrup Drizzle
Warm maple syrup pools in every square pocket, soaking into the tender chocolate crumb. Real amber syrup tastes best, cutting through the rich cocoa flavor with natural sweetness. Pour it on right before eating, so your crispy edges do not get soggy on the plate.
Whipped Cream Dollop
A big spoonful of freshly whipped cream melts slowly over the hot red waffles. Vanilla bean flecks inside the cream add extra luxury, making your homemade breakfast feel like a fancy hotel meal. Cold cream contrasts nicely with the steaming hot waffle underneath.
Fresh Berry Contrast
Tart raspberries and sweet strawberries cut through the rich cocoa taste, balancing out your morning plate. Red berries match the color scheme, making your breakfast look stunning on the kitchen table. Toss them on top right after the syrup goes down.
Crispy Bacon Strips
Salty bacon provides a savory crunch, balancing out the sweet vanilla notes in your waffle batter. The contrast between salty pork and sweet chocolate creates an amazing flavor combination. Wrap a crispy strip around your waffle bite for the ultimate breakfast experience.
Storage and Reheating
Room Temperature Cooling
Hot waffles need to cool completely on a wire rack, before you think about storing them away. Stacking them while hot traps steam inside, making your crispy edges turn soggy and limp. Give them ten minutes on the counter, until the steam stops rising entirely.
Fridge Storage Container
Leftover waffles fit neatly inside an airtight container, separated by sheets of parchment paper. Your fridge keeps them fresh for up to three days, ready for a fast morning breakfast. Seal the lid tightly, so the waffles do not dry out from the cold air.
Freezer Bag Packing
Stash your extra waffles in a large freezer bag, pressing out all the excess air before sealing. They stay delicious for up to two months, giving you instant breakfast options on crazy mornings. Parchment paper between each waffle stops them from freezing into one giant block.
Toaster Oven Reheating
Cold waffles go straight from the fridge or freezer into your toaster oven slot. Toast them on a medium setting for three minutes, bringing back that original crispy exterior. Your kitchen fills with the smell of warm cocoa all over again, making mornings feel special.
What Makes This Recipe Special
True Bakery Texture
Crispy outside meets a fluffy, cake like interior, mimicking your favorite dessert in breakfast form. Most homemade waffles turn out chewy or dense, but this specific ratio keeps things light. You get that satisfying crunch on the first bite, followed by a tender melt in your mouth middle.
Balanced Cocoa Flavor
Cocoa powder shines brightly here, without tasting like you are eating actual chocolate cake for breakfast. Too much chocolate turns heavy, but this recipe hits the exact sweet spot for morning meals. The tang from the buttermilk cuts through the richness, keeping your palate happy.
Stunning Visual Appeal
Bright red color pops against white plates, making even sleepy mornings feel like a celebration. Kids run to the kitchen table the second they spot the crimson batter hitting the iron. You do not need fancy decorating skills to make breakfast look like a work of art.
Foolproof Chemical Rise
Buttermilk and baking soda team up to create tiny pockets of air inside your waffle iron. That science experiment guarantees a tall, fluffy result every time you mix a batch. You never have to worry about flat, rubbery breakfast discs again.
Pro Tips for the Best Results
Resting the Batter
Letting your mixed batter sit on the counter for ten minutes works absolute wonders. That pause allows the baking powder and buttermilk to activate fully, creating extra bubbles. Your resulting waffles turn out noticeably taller and fluffier than if you cooked immediately.
Hot Iron Pointers
Preheating your waffle iron fully is the secret weapon for getting those crispy exterior edges. Pouring batter onto a lukewarm iron makes everything stick and turn soggy instead of golden. Test the iron with a tiny drop of water, watching it sizzle instantly before you start.
Butter Temperature Check
Cool your melted butter down slightly before pouring it into your cold buttermilk and eggs. Hot butter scrambles your eggs on contact, ruining the smooth texture of your wet mixture. Touch the butter with your finger first, making sure it feels warm rather than burning hot.
Gentle Folding Technique
Fold your wet and dry ingredients together using a rubber spatula and a gentle wrist motion. Stirring too hard develops the gluten in the flour, turning your tender waffles into tough rubber. Stop mixing the second you see the last streak of white flour disappear.
Variations and Substitutions
Dairy Free Swap
Instead of regular buttermilk, use almond milk mixed with one tablespoon of white vinegar. Your batter stays completely dairy friendly, while still getting that vital acidic reaction for a fluffy rise. The flavor changes just a tiny bit, but the texture remains wonderfully soft and tender.
Chocolate Chip Addition
Toss a handful of mini chocolate chips into the batter right before you pour it. Those extra pockets of melted chocolate make every bite feel extra decadent for chocolate lovers. Just watch your waffle iron closely, because extra chocolate can burn faster on hot metal grids.
Gluten Free Adjustments
Instead of standard wheat flour, use a one-to-one gluten free baking flour blend. Your waffles will taste just as good, though you might need an extra splash of buttermilk to thin the batter. Let the gluten free batter rest a bit longer, so the alternative flour absorbs the liquid properly.
Cream Cheese Glaze
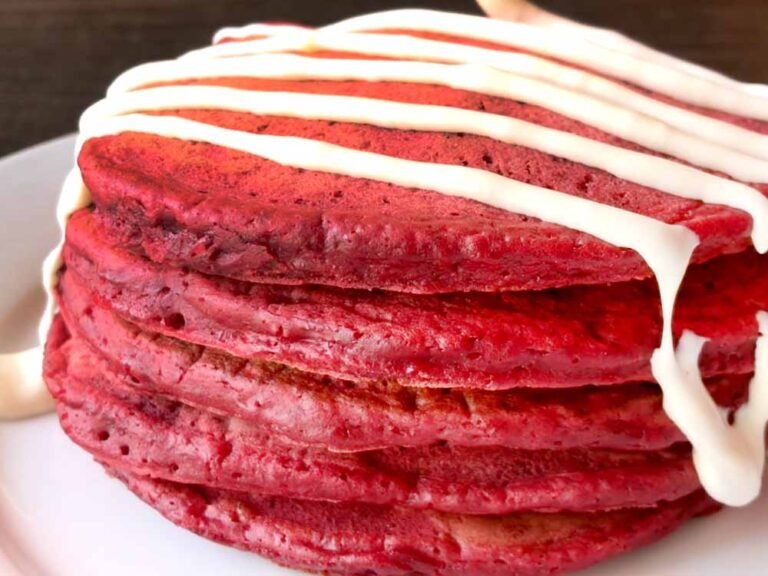
Drizzle a warm cream cheese glaze over your finished stack instead of standard maple syrup. Mix softened cream cheese with powdered sugar and milk until smooth, mimicking classic red velvet cake frosting. That sweet topping turns your breakfast plate into an absolute showstopper dessert.
Frequently Asked Questions
Can You Freeze Red Velvet Cake Waffles Recipe Leftovers Safely?
Yes, you can freeze cooled waffles in bags for up to two months.
Is Buttermilk Required for Red Velvet Cake Waffles Recipe Success?
Yes, buttermilk provides the acid needed for a light and fluffy interior.
Are These Waffles Very Sweet Like Dessert Cake?
No, the sugar level stays low to keep breakfast tasting balanced.
Do Red Velvet Cake Waffles Recipe Batches Need Special Food Coloring?
Yes, gel food coloring gives you that bright red color without thinning batter.
Can You Make Red Velvet Cake Waffles Recipe Without a Waffle Iron?
No, you need a hot waffle iron to get the signature crispy grid pattern.
Does Resting the Mixed Batter Actually Improve the Texture?
Yes, resting lets the leavening agents activate for a taller, fluffier waffle.
Are Leftovers Good Reheated in a Standard Toaster?
Yes, popping frozen waffles into the toaster brings back crispy edges fast.
Does Cocoa Powder Quality Affect the Final Taste?
Yes, good quality cocoa powder gives you a much richer chocolate flavor profile.
Final Thoughts
Red velvet cake waffles recipe proves that breakfast can be both fun and ridiculously easy to pull off. You get bakery style results in your own kitchen, without spending your whole morning doing dishes. Mix up a batch this weekend, and watch how fast your family gathers around the table.

Red Velvet Cake Waffles
Ingredients
- All Purpose Flour (2 cups)
- Unsweetened Cocoa Powder (3 tablespoons)
- Granulated Sugar (1/4 cup)
- Baking Powder (1 tablespoon)
- Baking Soda (1/2 teaspoon)
- Buttermilk (1 1/2 cups)
- Large Eggs (2)
- Unsalted Butter (1/3 cup, melted)
- Red Food Coloring (1 tablespoon)
- Vanilla Extract (1 teaspoon)
Tools You Need
- Large glass bowl
- Wire whisk
- Rubber spatula
- Measuring cups
- Waffle iron
Steps
- Whisk flour, cocoa, sugar, baking powder, and baking soda together in a large bowl.
- Combine buttermilk, melted butter, eggs, food coloring, and vanilla in a pitcher.
- Pour wet ingredients into the dry bowl and fold gently with a spatula.
- Preheat your waffle iron and spray it lightly with cooking oil.
- Ladle batter into the hot iron and cook until steaming stops and edges crisp.